
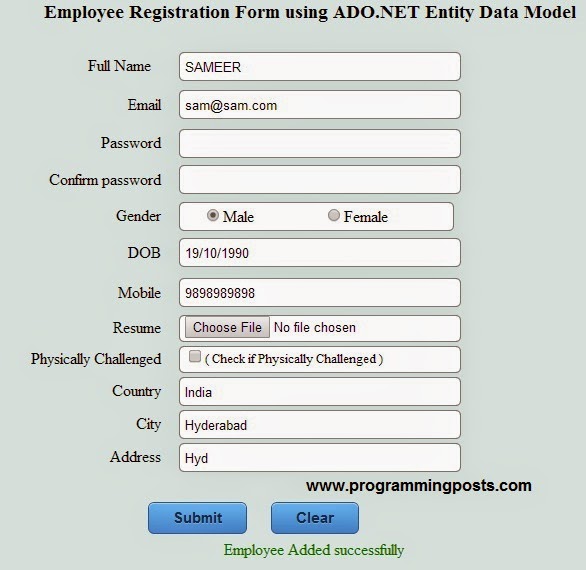
Registration Form in ASP.NET using Entity Framework Data Model
In previous posts , i have given a example for simple registration form in asp.net , registration form in Asp.Net using 3-tier architecture. And now i am doing the same example(no changes in design) with ADO.NET Entity Data Model, and we will see how we can add Model in normal Asp.Net website (here i am not taking Asp.Net MVC project).
Using Ado.Net entity model we can reduce our coding as it becomes more easy to perform CRUD(create,update,delete) operations.
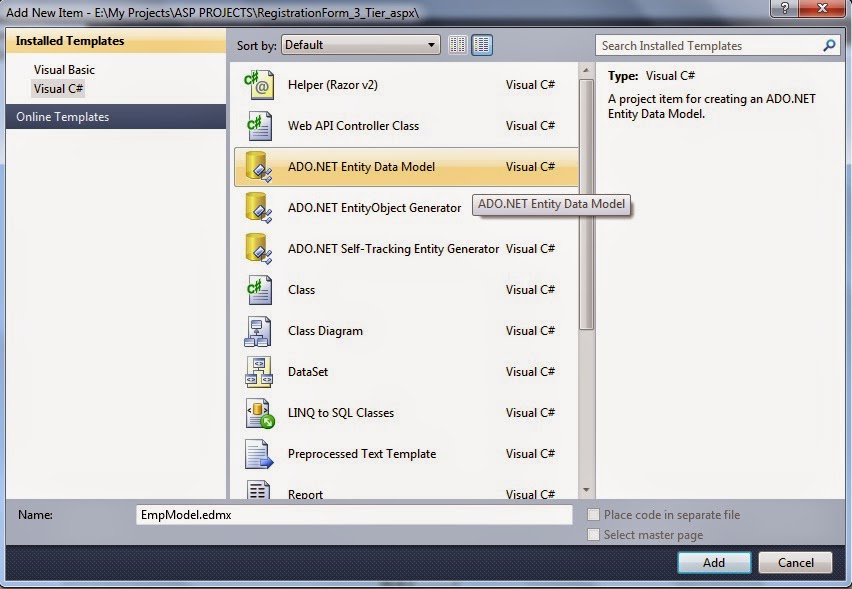
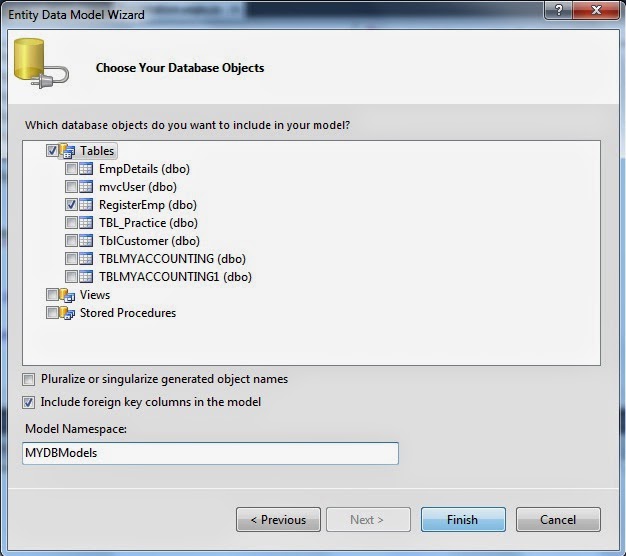
Here we will see how to add the model to our Asp.Net project and how we code for performing Create operation.
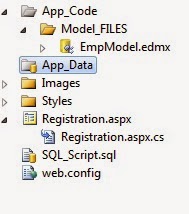
The project architecture is shown below.

Query to create table :
|
1 2 3 4 5 6 7 8 9 10 11 12 13 14 |
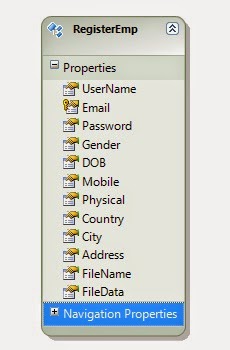
CREATE TABLE [dbo].[RegisterEmp]( [UserName] [varchar](50) NOT NULL, [Email] [nvarchar](50) NOT NULL primary key, [Password] [nvarchar](50) NULL, [Gender] [varchar](50) NULL, [DOB] [varchar](50) NULL, [Mobile] [varchar](50) NULL, [Physical] [varchar](50) NULL, [Country] [varchar](50) NULL, [City] [varchar](50) NULL, [Address] [varchar](500) NULL, [FileName] [varchar](500) NULL, [FileData] [varbinary](max) NULL ) ON [PRIMARY] |

//Employee emp = new Employee();
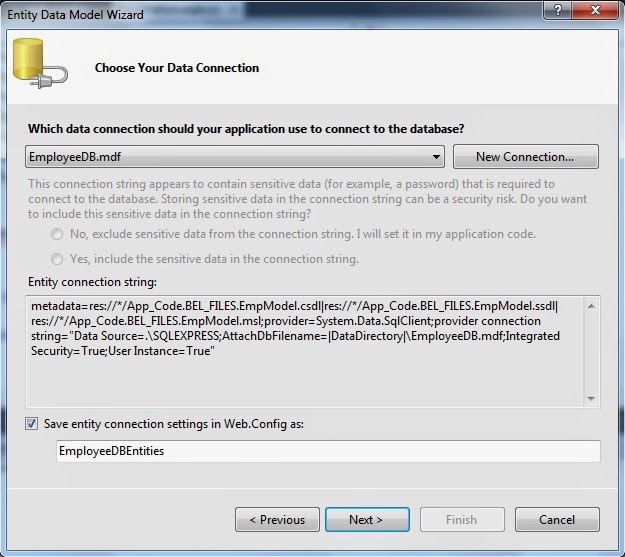
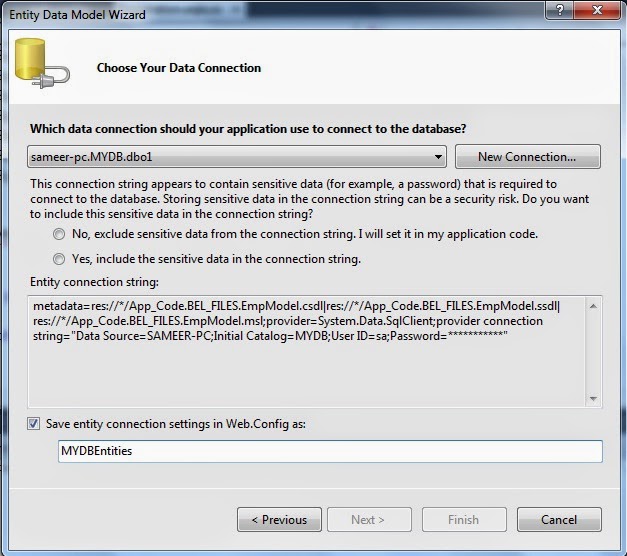
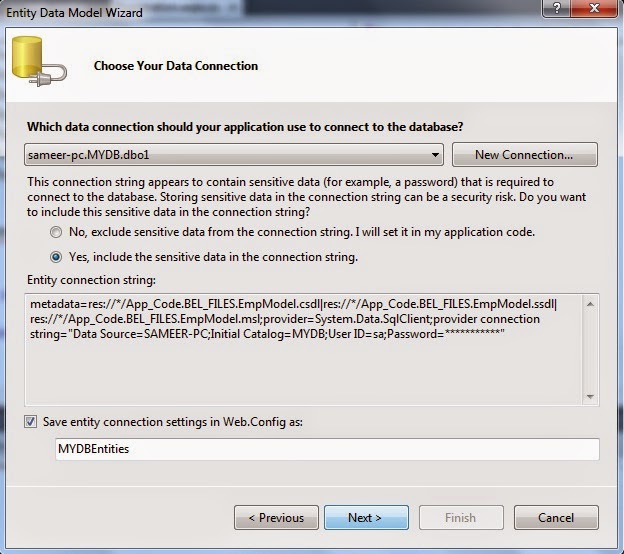
After adding model to your website, the connection string for the entity model is defined in the web.config file. No need of manually entering the connection string.
Thanks for reading, please share your views in comment.